
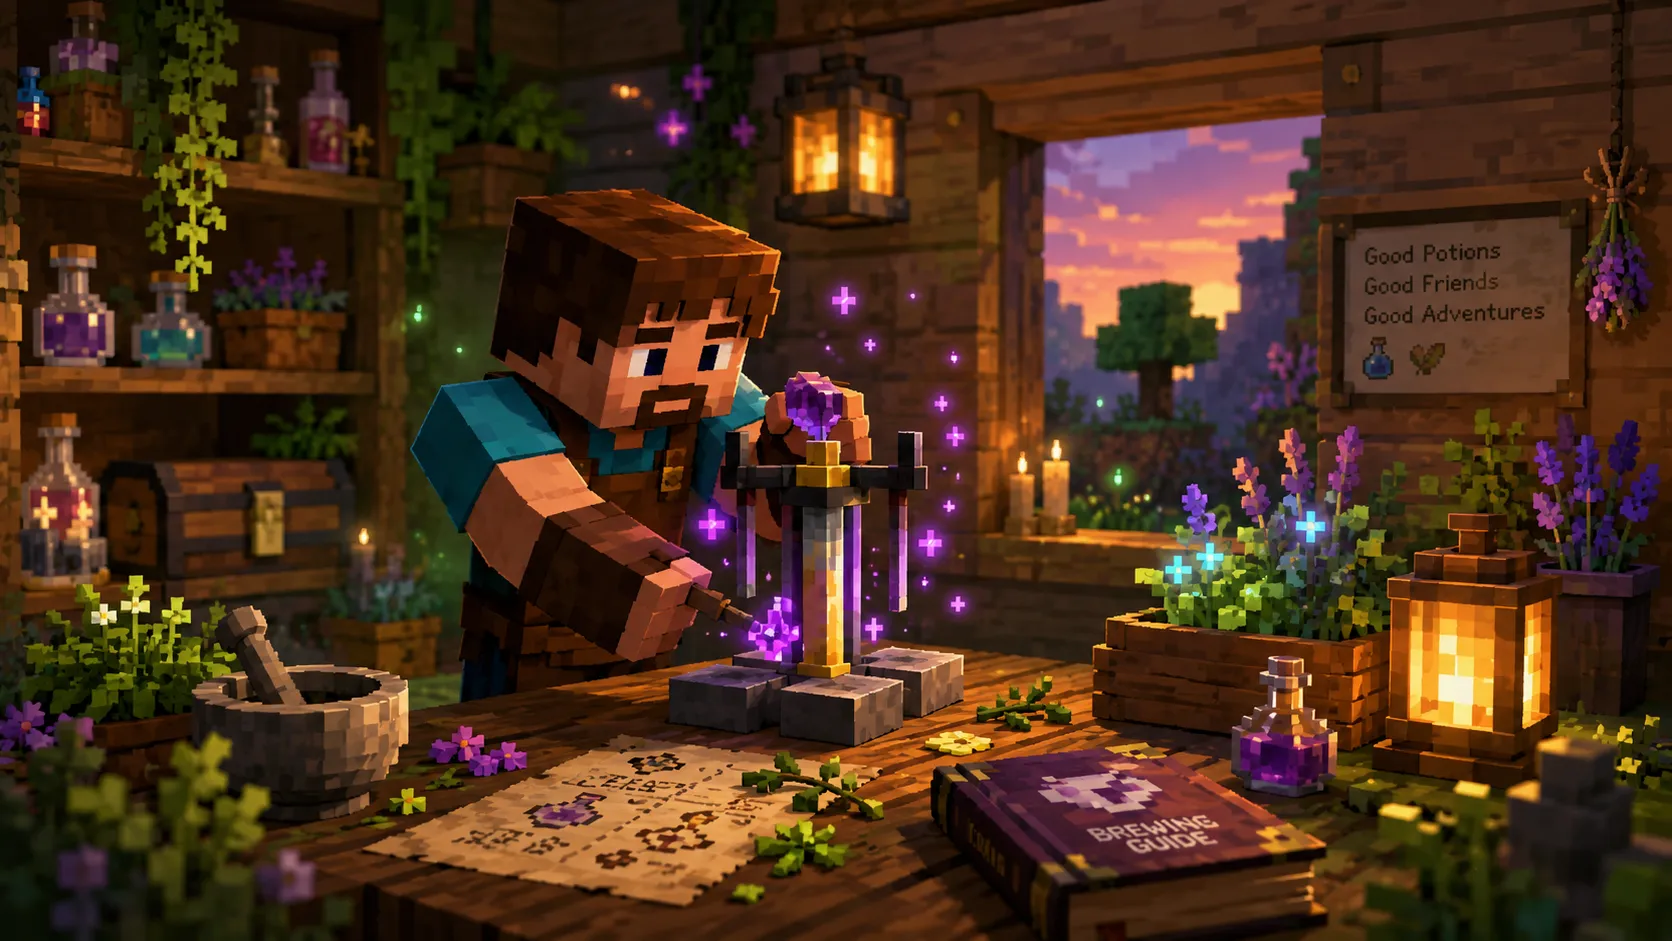
Minecraft survival mode can feel simple in the beginning. You mine stone, gather wood, build a shelter, and spend nights hiding from skeletons and creepers. Then the game slowly opens up into something much deeper. Brewing is one of those mechanics that transforms the experience from basic survival into advanced strategy. Once you understand how potion systems work, the entire world feels different. Suddenly, long cave expeditions become safer, Nether exploration becomes less terrifying, and boss fights feel far more manageable.
A Brewing Stand acts like the laboratory bench of Minecraft. Without it, potions simply cannot exist. Players who ignore brewing often spend unnecessary hours struggling through lava lakes, underwater ruins, or difficult combat situations that could have been solved with a single potion effect. A Fire Resistance Potion can turn the Nether into a casual walk. A Night Vision Potion makes ocean exploration dramatically easier. Strength and Regeneration potions can completely change difficult battles.
Many beginners delay brewing because the process looks complicated at first glance. The interface appears mysterious, the ingredients seem random, and the Nether itself feels dangerous. Yet the truth is surprisingly simple once you understand the workflow. Think of brewing like cooking in a fantasy kitchen. Every potion follows a recipe chain, and once you learn the foundation, the entire system becomes second nature.
Modern Minecraft players continue relying heavily on potion mechanics because of how powerful they remain in both Java and Bedrock editions. Blaze Powder is still required as brewing fuel, and Blaze Rods remain essential for crafting the Brewing Stand itself.
Materials Needed Before You Start Brewing
Before crafting your first Brewing Stand, you need to collect a small set of materials. The recipe itself looks simple, but obtaining the ingredients takes preparation. You cannot complete this process entirely in the Overworld because one key resource only exists naturally inside the Nether. This forces players to progress through several survival milestones before unlocking potion mechanics.
The main ingredients required are:
| Material | Quantity | Purpose |
|---|---|---|
| Blaze Rod | 1 | Core crafting ingredient |
| Cobblestone or Blackstone | 3 | Base support blocks |
| Blaze Powder | Optional but necessary | Brewing fuel |
The Blaze Rod is the true challenge. According to Minecraft Wiki documentation, Blaze Rods only drop from Blazes, which naturally spawn in Nether Fortresses. This means you must first build a Nether Portal, gather decent armor, and prepare for combat in one of Minecraft’s most hostile dimensions.
Cobblestone is easy by comparison. Most players already have stacks of it by the time they enter the Nether. Blackstone also works as a substitute in modern versions, which is convenient because you can collect plenty while exploring Bastions or Nether terrain. The difficulty lies entirely in surviving Blaze encounters long enough to secure rods.
One important detail many new players overlook is that crafting the Brewing Stand is only half the process. The stand will not function unless you also insert Blaze Powder as fuel. Many players place ingredients inside the stand and then wonder why nothing happens. Reddit discussions and community posts repeatedly show this exact confusion among beginners.
That is why experienced players usually farm extra Blaze Rods immediately. One rod crafts the stand, while additional rods convert into Blaze Powder for fuel and potion recipes. It is smarter to collect more than you think you need because future potion brewing consumes powder continuously.
Where Most Players Find Blaze Rods Faster
Finding Blaze Rods efficiently is all about locating a Nether Fortress quickly and approaching it with a plan instead of blind confidence. The Nether punishes careless exploration harder than almost any other Minecraft environment. Lava oceans, Ghasts, Piglins, and narrow fortress walkways create constant danger. Yet experienced players know there are reliable strategies that dramatically improve success rates.
Most Blaze Rod farms begin with locating a Nether Fortress crossing structure. These large dark-brick fortresses generate across Nether biomes and contain Blaze Spawners. Players often explore along one direction while placing visible markers to avoid getting lost. Community advice frequently recommends carrying abundant building blocks and a bow to survive Ghast attacks during exploration.
Once you discover a Blaze Spawner, the process becomes much easier. Blazes spawn repeatedly around these cage-like structures, allowing players to farm rods continuously. Shield usage is incredibly valuable here because Blaze fireballs can quickly overwhelm unprepared players. Fire Resistance potions help tremendously later, but first-time players usually rely on solid armor and ranged attacks.
A strong tactic involves creating cover near the spawner using cobblestone walls. Blazes float and attack from range, but they struggle when forced into tight openings. Many advanced players convert these areas into semi-automatic farms later in the game, but basic survival farming works perfectly well for beginners.
Looting enchantments also improve Blaze Rod drops significantly. Minecraft Wiki documentation notes that Blaze Rod drop amounts increase with Looting enchantments, making enchanted swords highly effective for farming. Even without enchantments, spending extra time at the spawner saves future headaches because Blaze Rods are used for Eyes of Ender, Brewing Stands, and Blaze Powder.
The first successful Blaze Rod run often feels like a turning point in survival progression. Once you leave the Nether carrying several rods, potion brewing becomes permanently accessible.
Turning Blaze Rods Into Blaze Powder
After returning safely from the Nether, the next step is converting Blaze Rods into Blaze Powder. This is one of the simplest crafting recipes in Minecraft, yet it powers the entire brewing system. Without Blaze Powder, your Brewing Stand is nothing more than decorative furniture.
The crafting conversion works like this:
According to Minecraft Wiki sources, one Blaze Rod produces two Blaze Powder when crafted. That means every successful Blaze encounter effectively provides multiple brewing sessions. Players who gather even ten rods during a Nether trip usually secure enough fuel for a long time.
Blaze Powder serves two separate purposes in Minecraft. First, it powers Brewing Stands. Second, it acts as a potion ingredient itself, especially for crafting Strength Potions. This dual purpose explains why experienced players value Blaze farms so heavily. You are not simply gathering fuel; you are collecting one of the most strategically important resources in the game.
Fuel mechanics are especially interesting because Brewing Stands consume powder differently from furnaces. A single Blaze Powder can fuel twenty brewing operations. That is far more efficient than many new players expect. The stand only consumes fuel when active brewing occurs, meaning unused fuel remains stored indefinitely.
Many players accidentally waste Blaze Powder by crafting excessive amounts too early. Since Blaze Rods also craft Eyes of Ender, balancing your supply matters. Smart players usually reserve several rods untouched until after locating the Stronghold. Nothing feels worse than realizing you burned through all your rods making fuel before preparing for the End dimension.
The Crafting Recipe Explained Step by Step
Crafting a Brewing Stand is refreshingly simple once you finally gather the required ingredients. The real difficulty comes from the dangerous journey to secure Blaze Rods, not from the crafting grid itself. Even so, beginners occasionally misplace ingredients because the recipe layout is slightly unusual compared to many early-game crafting patterns.
The official crafting structure looks like this:
| Crafting Slot | Item |
|---|---|
| Top Middle | Blaze Rod |
| Bottom Row | 3 Cobblestone or Blackstone |
Minecraft officially confirms this layout across both Java and Bedrock editions. The Blaze Rod sits in the center above the row of stone blocks, almost like a candle holder standing on a stone platform.
One common beginner mistake involves placing the Blaze Rod in the middle of the crafting grid instead of the top center. Another mistake is forgetting that only stone-tier blocks work properly. Dirt, wood, or random decorative blocks cannot replace cobblestone or blackstone in the recipe.
The visual logic of the recipe actually mirrors the Brewing Stand’s shape in-game. The rod represents the central support, while the stone row forms the base. Once you notice that resemblance, remembering the layout becomes much easier.
After crafting, place the Brewing Stand somewhere safe and accessible. Most players eventually dedicate an entire room to brewing because potion ingredients multiply rapidly. Between Nether Wart, Redstone Dust, Glowstone, Spider Eyes, Ghast Tears, and bottles, brewing becomes surprisingly storage-intensive.
The Brewing Stand interface itself contains several sections:
- Bottom slots for bottles
- Top slot for ingredients
- Left fuel slot for Blaze Powder
Understanding this layout is essential because the stand simply refuses to operate without proper fuel placement. Community posts regularly show confused players forgetting the Blaze Powder slot entirely.
Setting Up a Functional Brewing Area
A functional brewing area can completely transform how efficient your Minecraft survival world feels. Throwing a Brewing Stand randomly into a corner technically works, but organized potion systems save enormous amounts of time later. Once players begin brewing seriously, they quickly realize how many ingredients and bottle types the process actually requires.
The best brewing rooms usually contain several important features:
- Storage chests for ingredients
- Water access for filling bottles
- Nether Wart farms nearby
- Multiple Brewing Stands
- Fuel reserves
- Ingredient labeling systems
Think of brewing like running a small fantasy chemistry lab. Organization matters because potion recipes often involve multiple steps. For example, Water Bottles first become Awkward Potions using Nether Wart before transforming into specialized potions afterward. Players who constantly search through random chests lose time and waste ingredients.
Automated brewing systems are also extremely popular among advanced players. Community discussions frequently reference semi-automatic brewers using hoppers and redstone to streamline potion production. These setups automatically move ingredients and bottles between stands, making mass brewing far easier.
Lighting and safety also matter inside brewing rooms. Since potion ingredients often include rare Nether resources, accidental creeper explosions can become devastating. Many experienced players build underground laboratories with reinforced walls and secure storage systems.
A dedicated Nether Wart farm deserves special attention because Nether Wart forms the foundation of most potion recipes. Without it, players cannot create Awkward Potions, which serve as the base for nearly every useful effect in Minecraft. Keeping renewable supplies nearby ensures continuous brewing without repeated Nether trips.
The atmosphere of brewing rooms often becomes part of the fun as well. Lanterns, bookshelves, cauldrons, and dark stone blocks create amazing wizard-laboratory aesthetics. Brewing is one of the few Minecraft mechanics where functionality and creativity blend perfectly together.
What You Can Brew Once the Stand Is Ready
Once your Brewing Stand is active, Minecraft suddenly feels much larger. Potions unlock entirely new playstyles, survival strategies, and combat advantages. Beginners often underestimate how dramatically certain effects can improve gameplay until they experience them firsthand.
Some of the most valuable beginner-friendly potions include:
| Potion | Main Benefit |
|---|---|
| Fire Resistance | Safe lava exploration |
| Night Vision | Clear underwater visibility |
| Swiftness | Faster travel |
| Strength | Increased melee damage |
| Water Breathing | Ocean survival |
Potion progression usually begins with Awkward Potions because they serve as the base ingredient for most advanced brews. Community troubleshooting posts constantly show players forgetting this critical step. Water Bottles alone rarely produce useful results without Nether Wart first.
Strength Potions remain especially popular because Blaze Powder itself acts as the brewing ingredient. According to Minecraft Wiki references, Blaze Powder directly creates Strength Potions from Awkward Potions. This creates a neat gameplay loop where Blaze farming improves combat, which then makes future Blaze farming easier.
Late-game players often focus on specialized brews like:
- Slow Falling for End fights
- Turtle Master potions for defense
- Extended Fire Resistance for Nether travel
- Splash Potions for multiplayer combat
- Lingering Potions for area effects
Potion customization adds another layer of depth. Redstone extends duration, Glowstone increases potency, and Fermented Spider Eyes corrupt certain effects into entirely different potion types. Brewing begins feeling almost like experimental science once players understand these transformations.
The real magic of potion systems lies in preparation. Minecraft rewards players who think ahead. Instead of reacting to danger, brewing allows proactive planning. Entering a dangerous area fully supplied with custom potions feels completely different from scrambling for survival with basic equipment.
Fuel Mechanics That New Players Often Forget
Fuel mechanics confuse many first-time brewers because Brewing Stands work differently from furnaces. New players frequently assume brewing fuel burns continuously over time, but Minecraft handles it in a much smarter way. Understanding this system prevents wasted Blaze Powder and unnecessary frustration.
The Brewing Stand requires Blaze Powder placed in the left-side fuel slot before brewing begins. Without fuel, the interface remains inactive no matter how correct your ingredients are. Reddit help threads repeatedly show players missing this exact detail.
The efficiency formula works like this:
Minecraft Wiki documentation confirms that each Blaze Powder fuels twenty brewing operations. This is incredibly efficient compared to how many beginners imagine the system functioning. Fuel is only consumed when brewing actively occurs. The stand does not slowly drain powder while sitting idle.
Each brewing stage counts as a separate operation, though. For example:
- Water Bottle → Awkward Potion = 1 operation
- Awkward Potion → Strength Potion = 1 operation
- Strength Potion → Extended Strength = 1 operation
This means advanced potion chains consume more fuel overall. Players mass-producing splash or lingering potions may burn through powder faster than expected.
Efficient players often keep dedicated Blaze Powder reserves beside their brewing stations. Some even automate powder delivery using hoppers. Since Blaze Rods remain essential for other progression systems like Eyes of Ender, careful resource management becomes surprisingly important during mid-game survival.
Fuel awareness separates casual brewers from experienced survival players. Once you understand the mechanics, potion production becomes far more economical and reliable.
Brewing Mistakes That Waste Ingredients
Every Minecraft player wastes brewing ingredients at some point. Potion systems have a learning curve, and mistakes are practically part of the experience. The good news is that most brewing disasters become easy to avoid once you understand the common traps.
The single biggest mistake is forgetting Nether Wart. Most useful potions require Awkward Potions as their base. Players who toss random ingredients into Water Bottles usually create useless results or nothing at all. Community troubleshooting discussions constantly highlight this issue among beginners.
Another common mistake involves using rare ingredients too early. Ghast Tears, Phantom Membranes, and Turtle Shells can be difficult to obtain. Experimenting blindly with them often leads to disappointment. Smart players first learn basic potion chains using cheap ingredients before attempting advanced brews.
Inventory management also causes problems. Brewing several potion types simultaneously becomes confusing fast. Accidentally corrupting a potion with a Fermented Spider Eye or enhancing the wrong bottle with Glowstone can waste valuable resources instantly.
Players also underestimate how dangerous brewing distractions can become in multiplayer servers or unsafe bases. Creeper explosions inside brewing rooms are legendary among long-time Minecraft fans. Losing stacks of ingredients because your potion room lacked proper lighting feels awful.
A final major mistake is underestimating bottle preparation. Brewing requires Water Bottles, not empty Glass Bottles. This sounds obvious, yet many beginners place empty bottles into Brewing Stands and wonder why nothing happens.
Learning brewing resembles learning recipes in real life. Early mistakes feel frustrating, but eventually the process becomes automatic muscle memory. Experienced Minecraft players can chain complex potion recipes almost without thinking because the system becomes deeply familiar over time.
Conclusion
Crafting a Brewing Stand in Minecraft represents far more than unlocking a crafting recipe. It marks the transition from early-game survival into advanced preparation and strategic gameplay. Once players understand how Blaze Rods, Blaze Powder, and potion systems work together, the entire game opens up in exciting ways.
The process begins with dangerous Nether exploration, continues through Blaze farming and resource management, and eventually evolves into sophisticated potion production systems. Along the way, players learn efficient brewing layouts, fuel mechanics, and ingredient combinations that dramatically improve survival odds.
Potion brewing rewards patience and planning. Instead of constantly reacting to threats, prepared players walk into dangerous situations already equipped with solutions. Fire Resistance neutralizes lava. Strength boosts combat power. Water Breathing transforms ocean exploration. Brewing essentially gives players control over the rules of survival itself.
The best part is that brewing scales beautifully alongside player experience. Beginners can create simple utility potions, while advanced survival worlds often contain fully automated brewing laboratories capable of mass-producing complex potion chains. Few Minecraft systems combine creativity, progression, and strategy as effectively as brewing.
Once your Brewing Stand is operational, you are no longer just surviving Minecraft. You are mastering it.
FAQs
1. How many Blaze Rods should I collect during my first Nether trip?
Most players should aim for at least 10 to 15 Blaze Rods. This gives enough material for a Brewing Stand, Blaze Powder fuel, and Eyes of Ender later in the game.
2. Can you brew potions without Blaze Powder?
No. Brewing Stands require Blaze Powder as fuel before any brewing process can begin.
3. Why is my Brewing Stand not working?
The most common reasons are:
- Missing Blaze Powder fuel
- Using empty bottles instead of Water Bottles
- Forgetting Nether Wart for Awkward Potions
- Incorrect ingredient order
4. What is the easiest useful potion for beginners?
Fire Resistance Potions are extremely valuable because they make Nether exploration much safer, especially around lava lakes and Blaze encounters.
5. Can villagers provide Brewing Stands?
Yes. Brewing Stands can naturally generate inside village churches and certain other structures, though crafting your own is usually faster.

Kellan Rhodes is a 29-year-old American content writer based in Boise, Idaho. He specializes in technology, gaming, and digital culture, bringing years of experience researching and producing reliable online content. His work emphasizes accuracy, practical insights, and reader-first publishing standards. As a contributor to gamersrealm.online, he focuses on creating well-researched articles that help readers make informed decisions while maintaining strong editorial integrity and trust.